Troubleshooting

Get your cistern gauge back online.

Most issues come down to one of three things: an obstructed sensor, a loose connection, or a Wi-Fi misconfiguration. Start here.

Reading the status light

The CMS logo on the front of the gauge pulses to tell you its connection state. The meaning is in the speed of the flash — match what you see on the device to one of these before you start the reconnection steps below.

CMS logo
Connected

Slow pulse

The device is online and reporting normally. Nothing to do.

CMS logo
No internet

Rapid pulse

The device joined your router, but the router has no internet. Check your modem/ISP connection.

CMS logo
Ready to set up

Slower flash

The device is not on Wi-Fi and is ready to be configured. Use this state to (re)connect it to a network.

Pairing a new (or replacement) device

  1. 1

    Open the app

    Tap "Add Device" from the main screen.

    Step 1: Open the app
  2. 2

    Press the CMS logo

    Hold the front button. The logo will transition from a slow pulse to a rapid pulse — release when you see the fast pulse.

    Step 2: Press the CMS logo
  3. 3

    Join the configuration network

    In your phone's Wi-Fi settings, connect to the device's temporary access point (it will appear briefly).

    Step 3: Join the configuration network
  4. 4

    Select your home network

    Pick your Wi-Fi network from the list and enter the password when prompted. The device only supports 2.4 GHz networks.

    Step 4: Select your home network
  5. 5

    Verify connection

    The app confirms when the device successfully reaches the cloud. You should see live readings within 60 seconds.

    Step 5: Verify connection

Reconnect a device to Wi-Fi (reconfigure)

Moved the gauge to a new network, changed your Wi-Fi password, or swapped the hardware? Reconfigure Wi-Fi from inside the app — the device keeps its name, history, and settings; only its network changes. Follow along with the screens below.

  1. 1

    Open the device in the app

    From your device list, tap the cistern you need to reconnect, then open its Settings (the gear icon).

    Step 1: Open the device in the app
  2. 2

    Tap “Reconfigure WiFi”

    Choose “Reconfigure WiFi — change WiFi network or password.” The device keeps its name, history, and configuration — only its network changes.

    Step 2: Tap “Reconfigure WiFi”
  3. 3

    Put the gauge in configuration mode

    Hold the CMS logo button on the front of the gauge until the light changes from a slow pulse to a rapid pulse, then release.

    Step 3: Put the gauge in configuration mode
  4. 4

    Connect to the gauge

    The app finds the gauge and connects to its temporary CMS-XXXXXX network. If asked, open your phone’s Wi-Fi settings, join CMS-XXXXXX, then return to the app.

    Step 4: Connect to the gauge
  5. 5

    Choose your Wi-Fi network

    Pick your home or property network from the list. CMS gauges use 2.4 GHz only — 5 GHz networks are flagged and won’t connect.

    Step 5: Choose your Wi-Fi network
  6. 6

    Enter the Wi-Fi password

    Type the password for the network you selected and submit it.

    Step 6: Enter the Wi-Fi password
  7. 7

    Wait for reconnection

    The gauge joins the new network while your phone reconnects to your home Wi-Fi. When the success screen appears, the device is back online — with all its history and settings intact.

    Step 7: Wait for reconnection

Common issues

01

Level stuck at a specific reading

The reported level isn't changing even though you know the water level is.

Solutions

  • Check for obstructions. Verify nothing is blocking the sensor's line of sight — ladders, trees, frogs, or accumulated debris.
  • Verify connections. A loose connection between the sensor and the processing unit can freeze readings. Re-seat the cable.
  • Confirm network connectivity. The device can't push new readings to the cloud if it's offline. Check the device status in the app.
02

Erratic sensor behavior

Readings jump around or show inconsistent values.

Common causes

  • Wildlife interference. Frogs and other animals on or near the sensor produce wildly varying readings.
  • Environmental factors. Check for debris, condensation, or other materials in the sensor path.

Verification

  • Manual measurement. Measure the actual level by hand and compare to the app reading to confirm what's real.
03

Sensor mounting and installation

Inaccurate readings or no readings at all — usually caused by improper mounting.

Correct installation

  • Orientation. The sensor cone must point straight down at the water surface. Tilt produces false readings.
  • Secure mounting. Fix the sensor firmly to the wall after any cleaning or maintenance — a loose sensor will shift over time.
  • Regular checks. Inspect the sensor mount after any maintenance work to confirm it hasn't moved.

Quick fixes

Common pairing and connection issues.

Device won't enter pairing mode
Hold the CMS logo button for the full 10 seconds until you see the rapid pulse.
Can't find your Wi-Fi network
Ensure your router is broadcasting and the device is within 2.4 GHz range. The device does not support 5 GHz networks.
Connection keeps failing
Move the device closer to your router during setup, then relocate after pairing.
App won't recognize the device
Force-close the app and reopen. If that fails, restart the device (cycle power for 10 seconds).

What you should see in the app

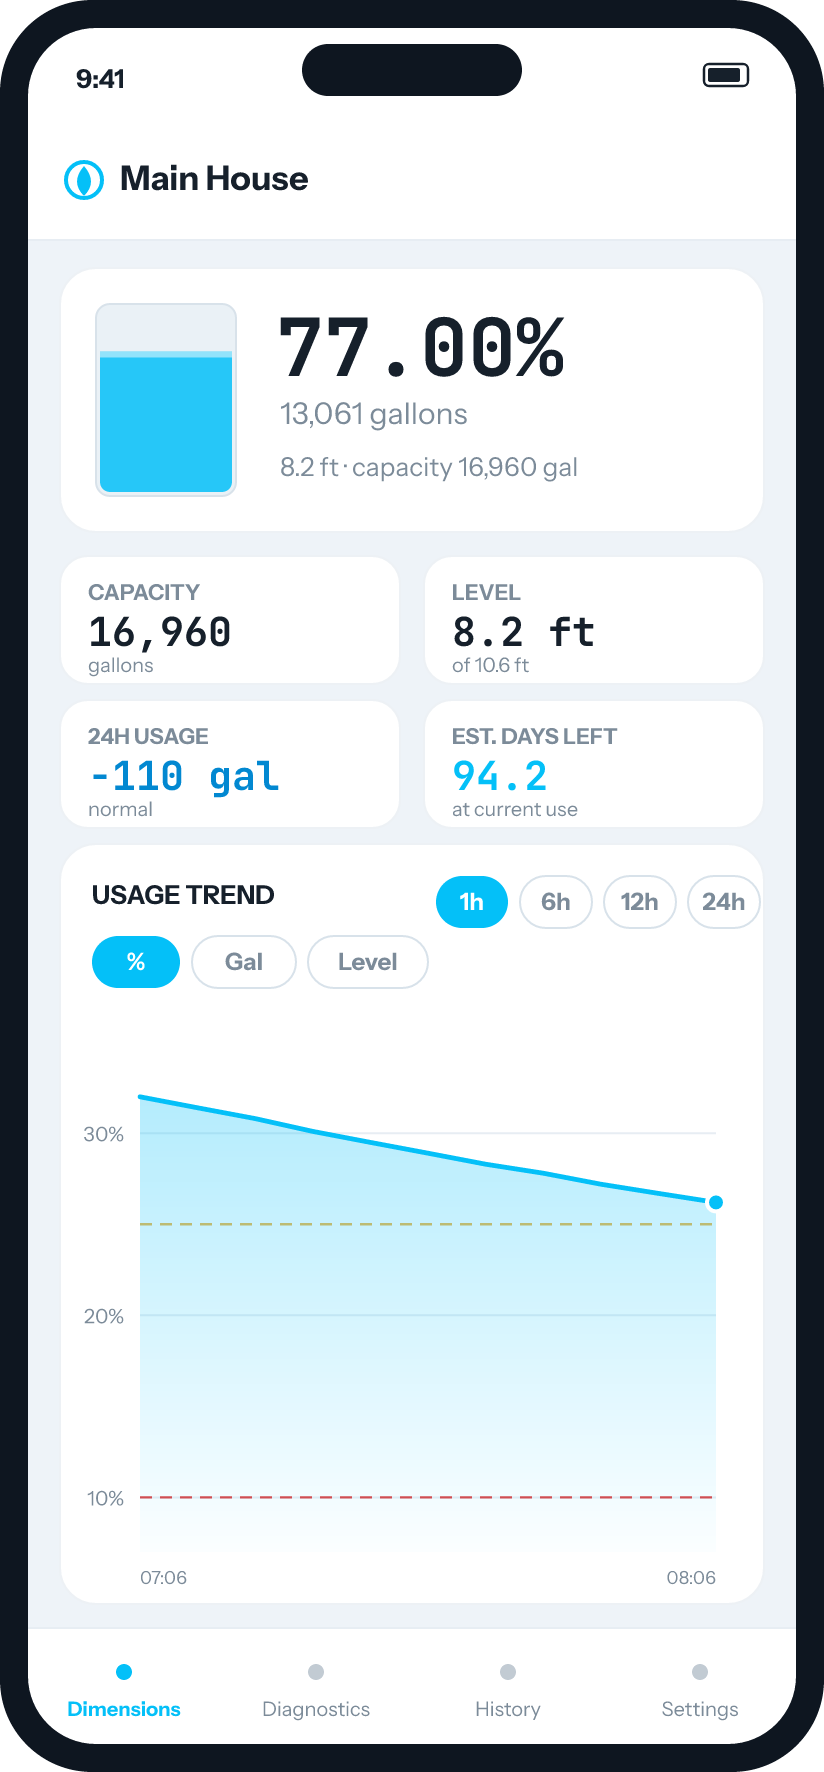
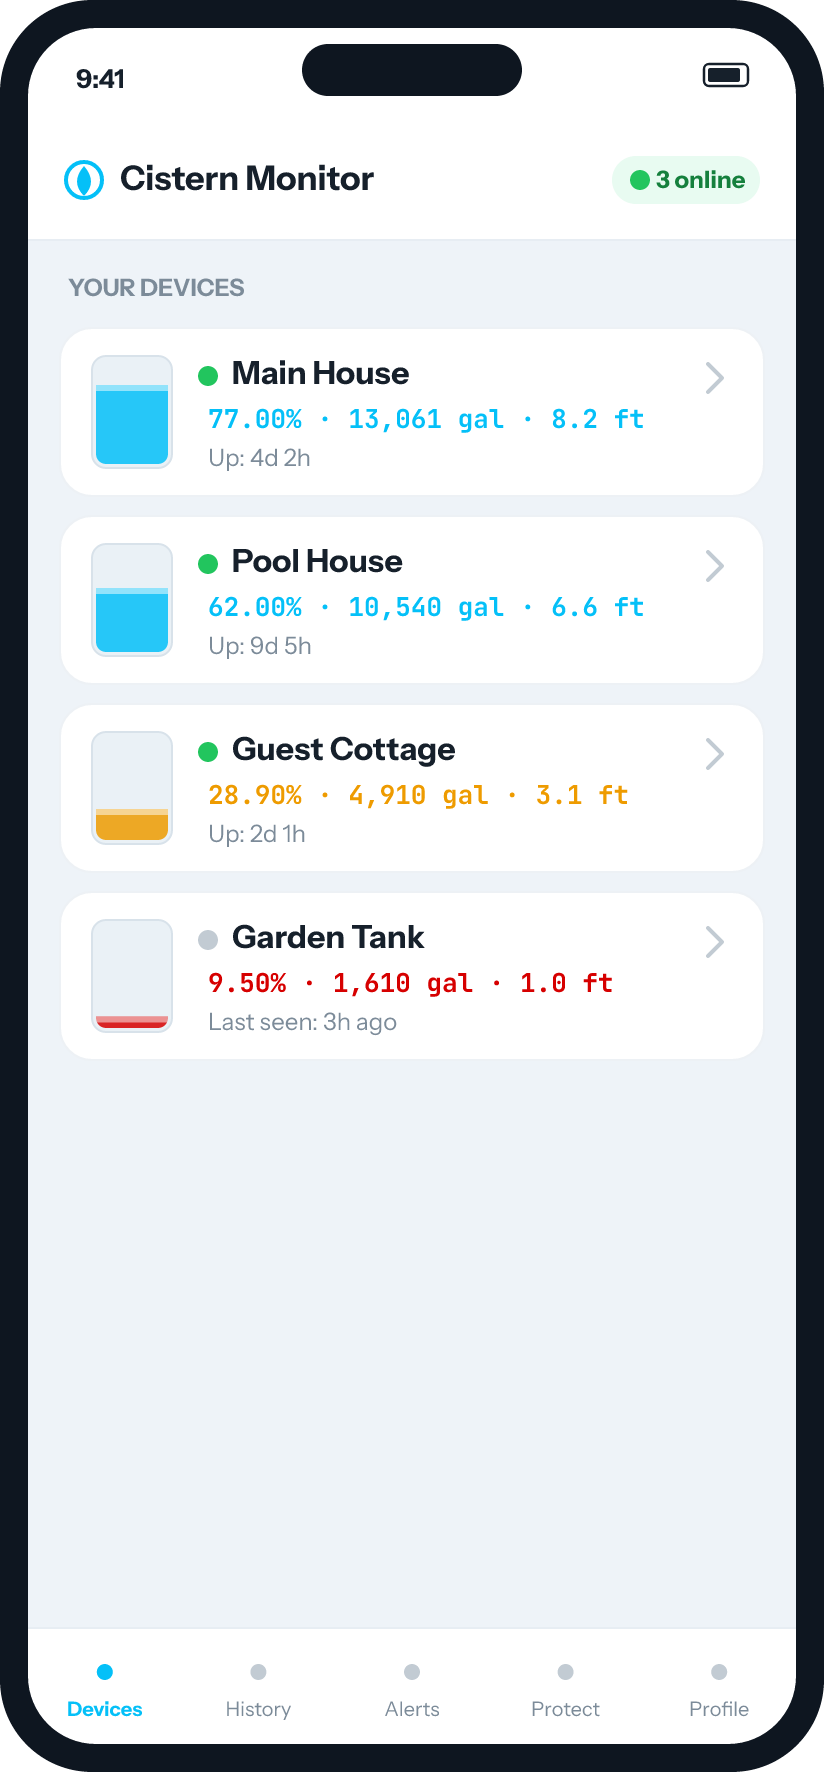
Use these as a reference while you troubleshoot — your screens should look like this when a device is online and reporting.

Healthy device list — green status dots and live readings
Device list — green dot = online
Device dashboard with live percentage, level and usage trend
Dashboard — live data & trend

Still stuck?

We answer support email within one business day.